User manual · Requesters
Creating a ticket
How to fill in a request form, add attachments, and submit your request.
This page shows you how to fill in and submit a request, whichever topic you chose.
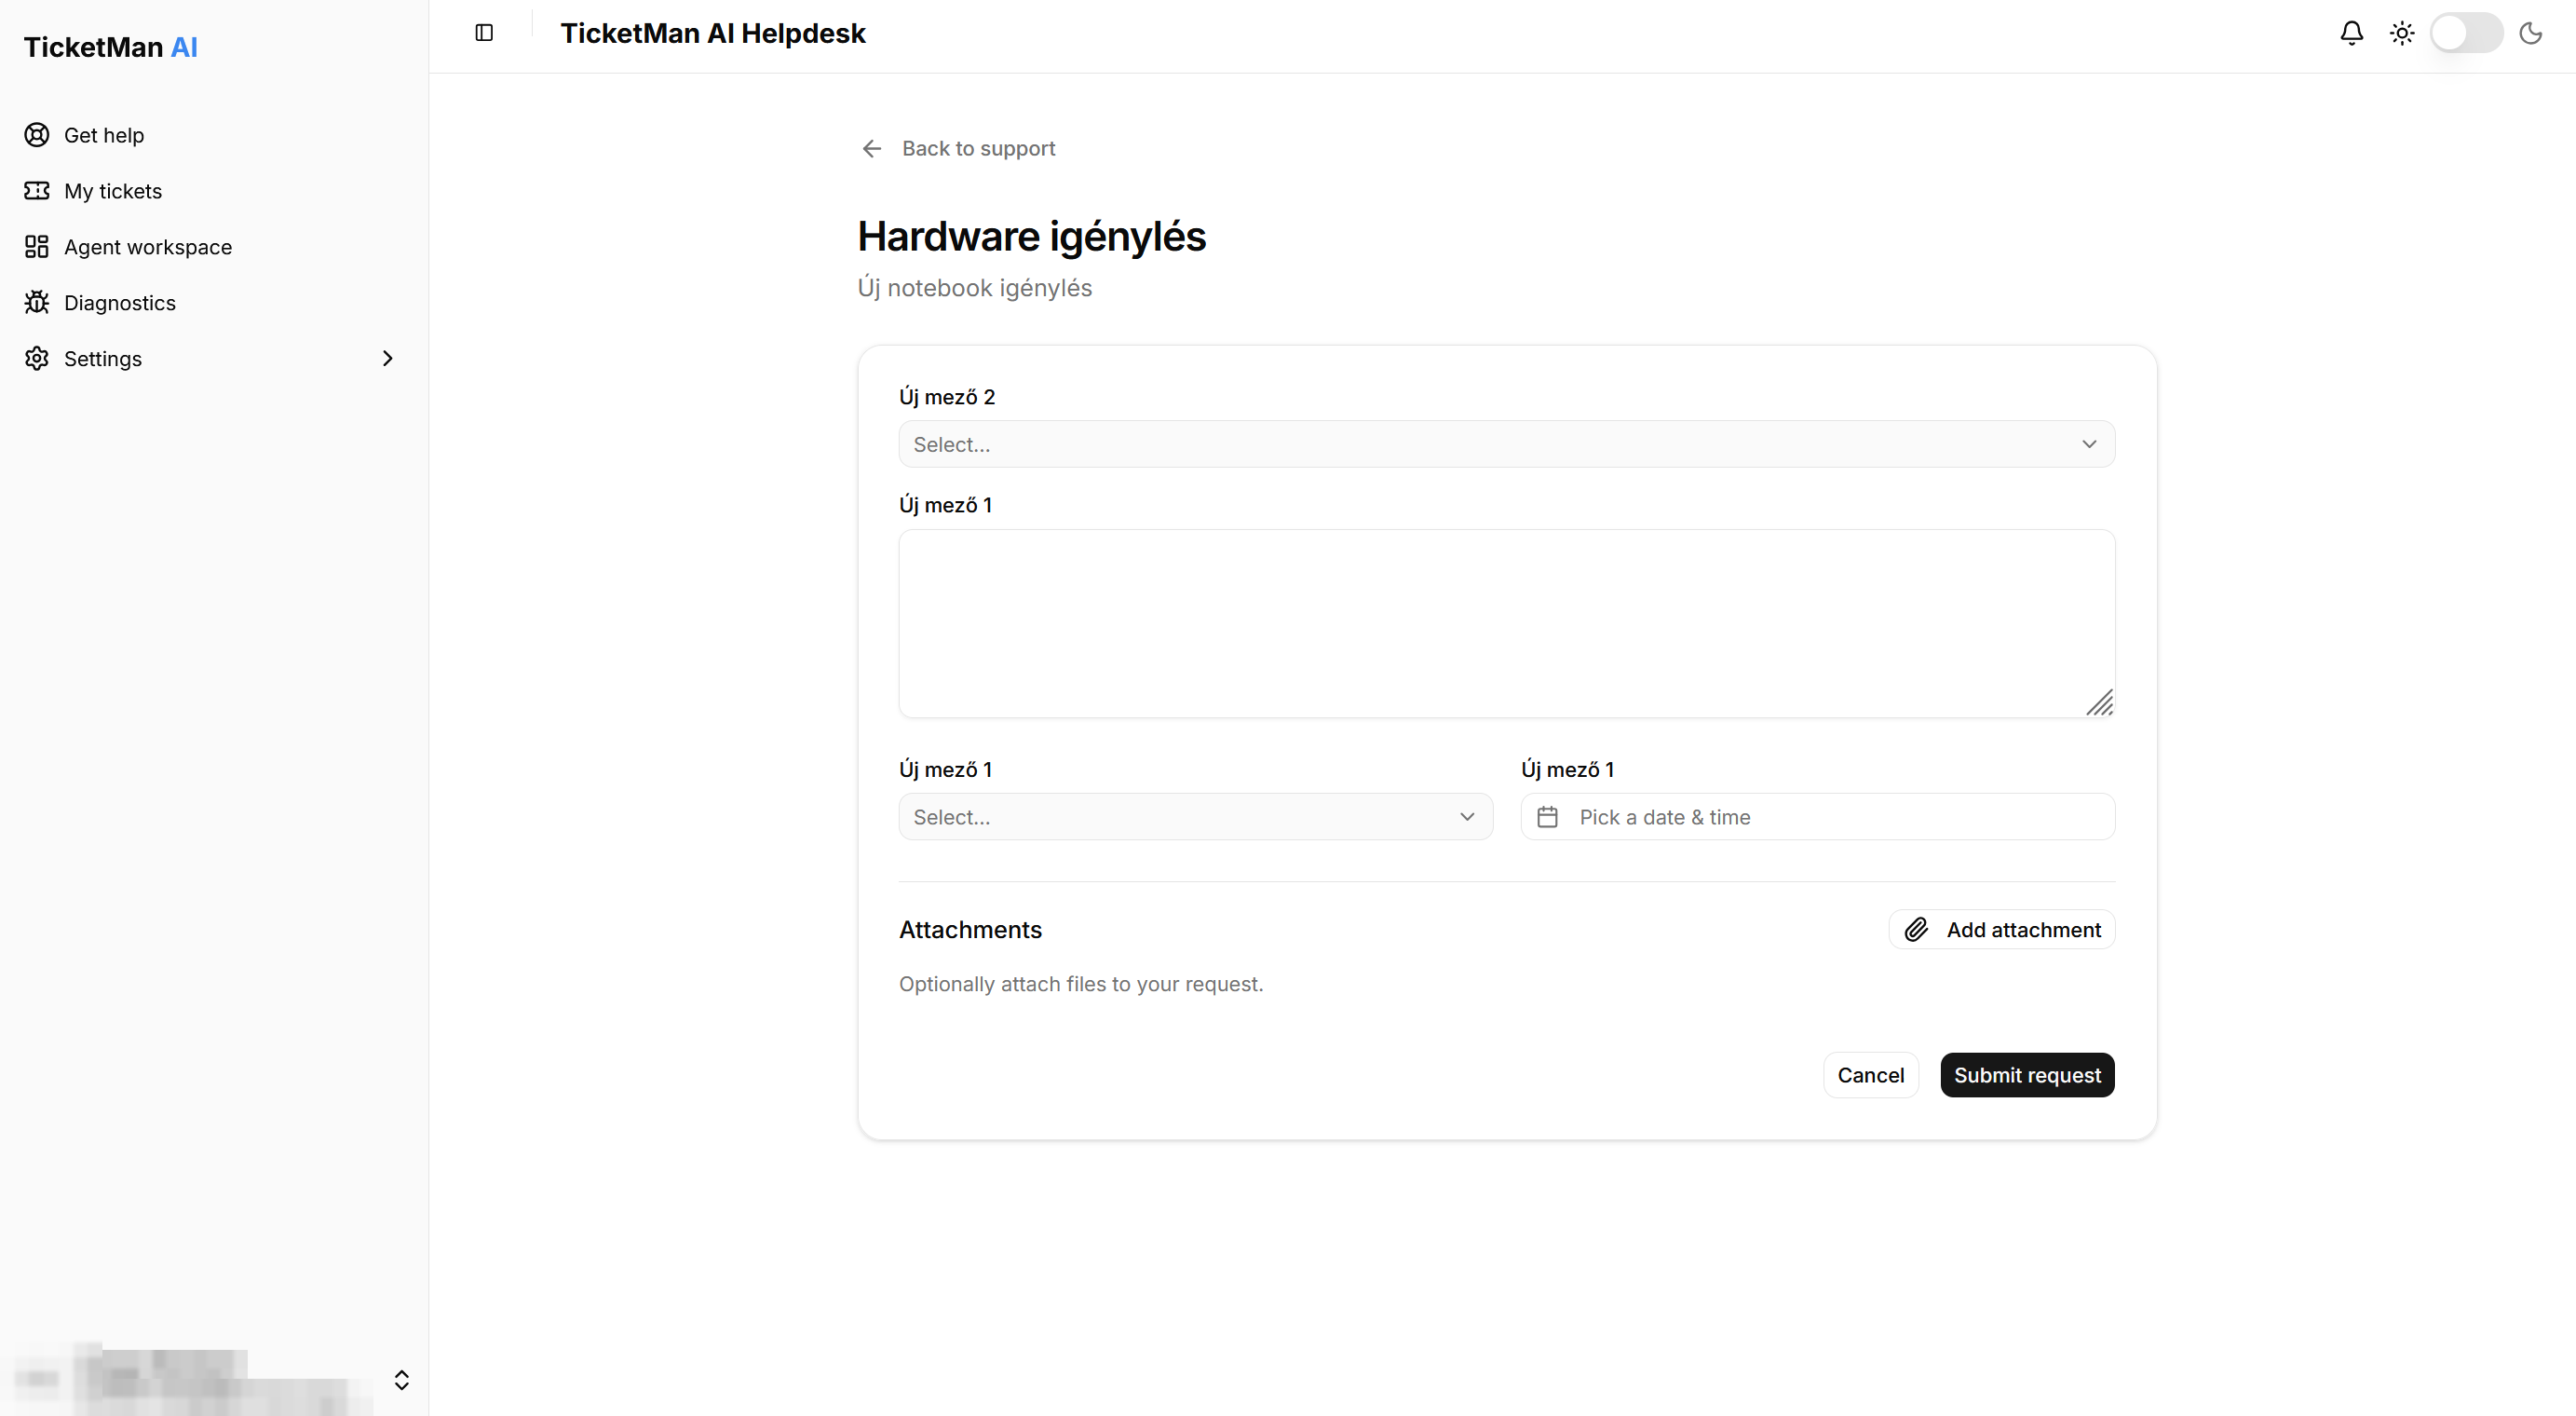
Filling in the form
Every request form is built from a set of fields chosen for that topic, so the fields you see change from one topic to another. They work the same way wherever they appear:
- A field marked with a red asterisk (*) is required. You cannot submit the form without filling it in.
- Text fields can be a single line or a larger box for a longer description.
- Some fields offer a fixed list of choices, shown as a dropdown list or a set of options to pick from.
- Date and time fields open a picker when you select them.
Read any hint text shown under a field. It tells you what kind of answer is expected.
Attaching files
You can attach files to your request, for example a screenshot or a document that helps explain the problem.
- Select "Add attachment".
- Choose a file from your device.
Each file can be up to 10 MB. You can attach more than one file, one at a time. Select the "X" next to a file in the list to remove it before you submit.
Attachments are optional.
Submitting
- Once every required field is filled in, select "Submit request".
For the "General Request" topic only, TicketMan may first check whether an existing answer solves your problem before your request becomes a ticket. See "The help assistant" for what happens in that case. For every other topic, your request is created right away and you are taken to its page. TicketMan confirms the new ticket with a notification under the bell at the top of the page and with an email. Continue to "Following your ticket" to see what you can do from there.